My very good friend is also a very good knitter. She knits gloves, sweaters and socks for me, and I weave scarves and shawls for her. And every time we talk about a new project, we are surprised to see how much of exchange of ideas happens between weaving and knitting worlds. Many a thing are taken by looks, translated into the different trade techniques with completely different process (as you would expect), and the result will look very similar to the starting point.
For example:
|
|
|


See how similar these images are? Both show the same idea – what happens if we add a thicker yarn on top of thinner yarn surface. I don’t know where the original idea first was done, in knitting world or in weaving world, but I love how ideas cross over.
A very similar thought occurred to me: what happens if I, as a weaver, borrow an appearance of an embroidered article, especially done in satin stitch? Well, if I am not to trespass into tapestry, then inlay weaving is my answer.
Inlay weaving it is, then.
From my last trip to Japan I brought a skein of yellow silk, not spun and very uneven. A full of character, in other words, and very suitable for accent yarn.
I also had a very fine mix of silk and wool yarn, which I nominated to be weft and warp yarn. It was strong enough to sustain the stretch on the loom, but fine enough to give me a thin fabric.
The idea of an inlay weaving is that essentially one weaves a background fabric with density of a cheesecloth (e.g. very open sett), and then adds the inlay yarn as pattern required.
With the EPI of 30 and plain weave I began. The accent yarn colour reminded me of beautiful ginkgo leaves, and I decided to go with it. Here is the first gingko leaf started. I pinned the print-out of a gingko leaf contour (blue and red pins) and used tapestry needles to put in the inlay weft.

The process is simple: open the shed, put in the inlay yarn in the places within the contour, beat, through the shuttle with the background yarn, beat and close the shed. Repeat as many hundred times as needed.

The maximum number of needles I needed was four, but that was plenty. To keep everything organized, I always started inpay in the same direction as my upcoming background weft. So, if I have a shuttle to my right, all the inlay weft will go from right to left. I also started from the needle farthest from the shuttle, as that would guarantee that I was inlaying the right threads in the right places.
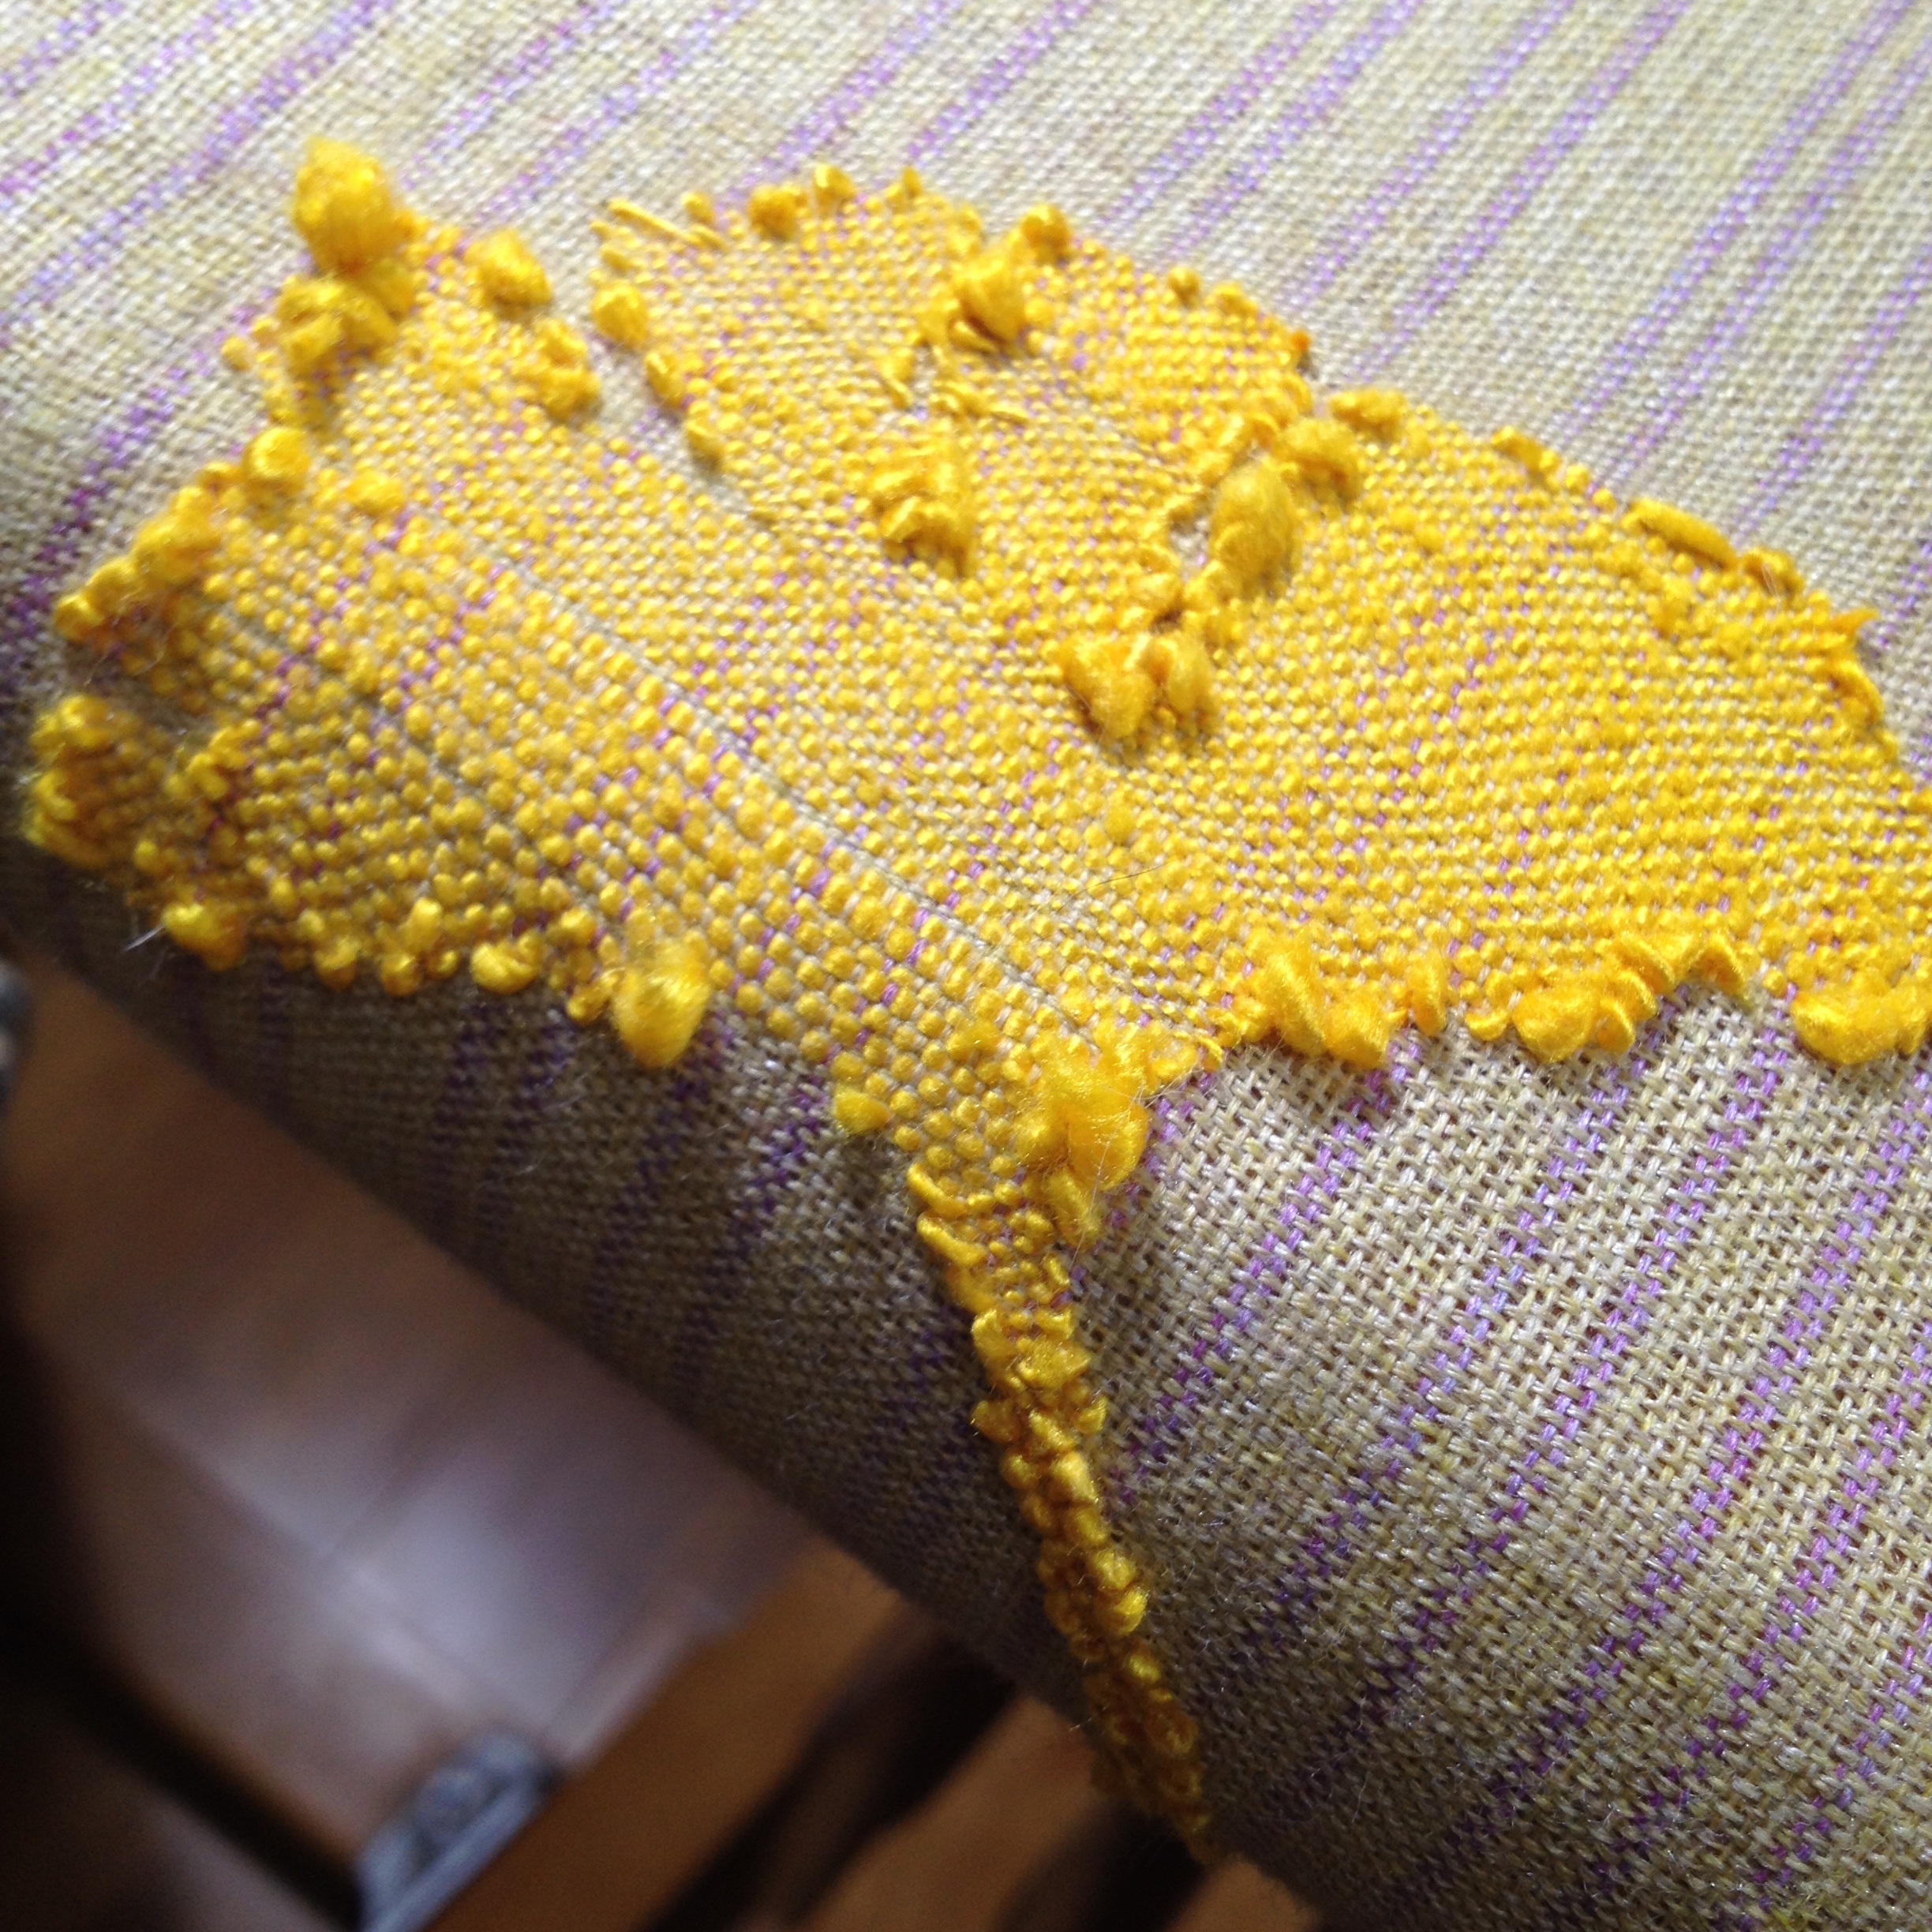
Look at how the un-span yarn coils and adds volume to the edges!
Well, after two shawls with seven leaves each I was done. The moment when you’re done weaving, but you’re so far away yet from the finish!

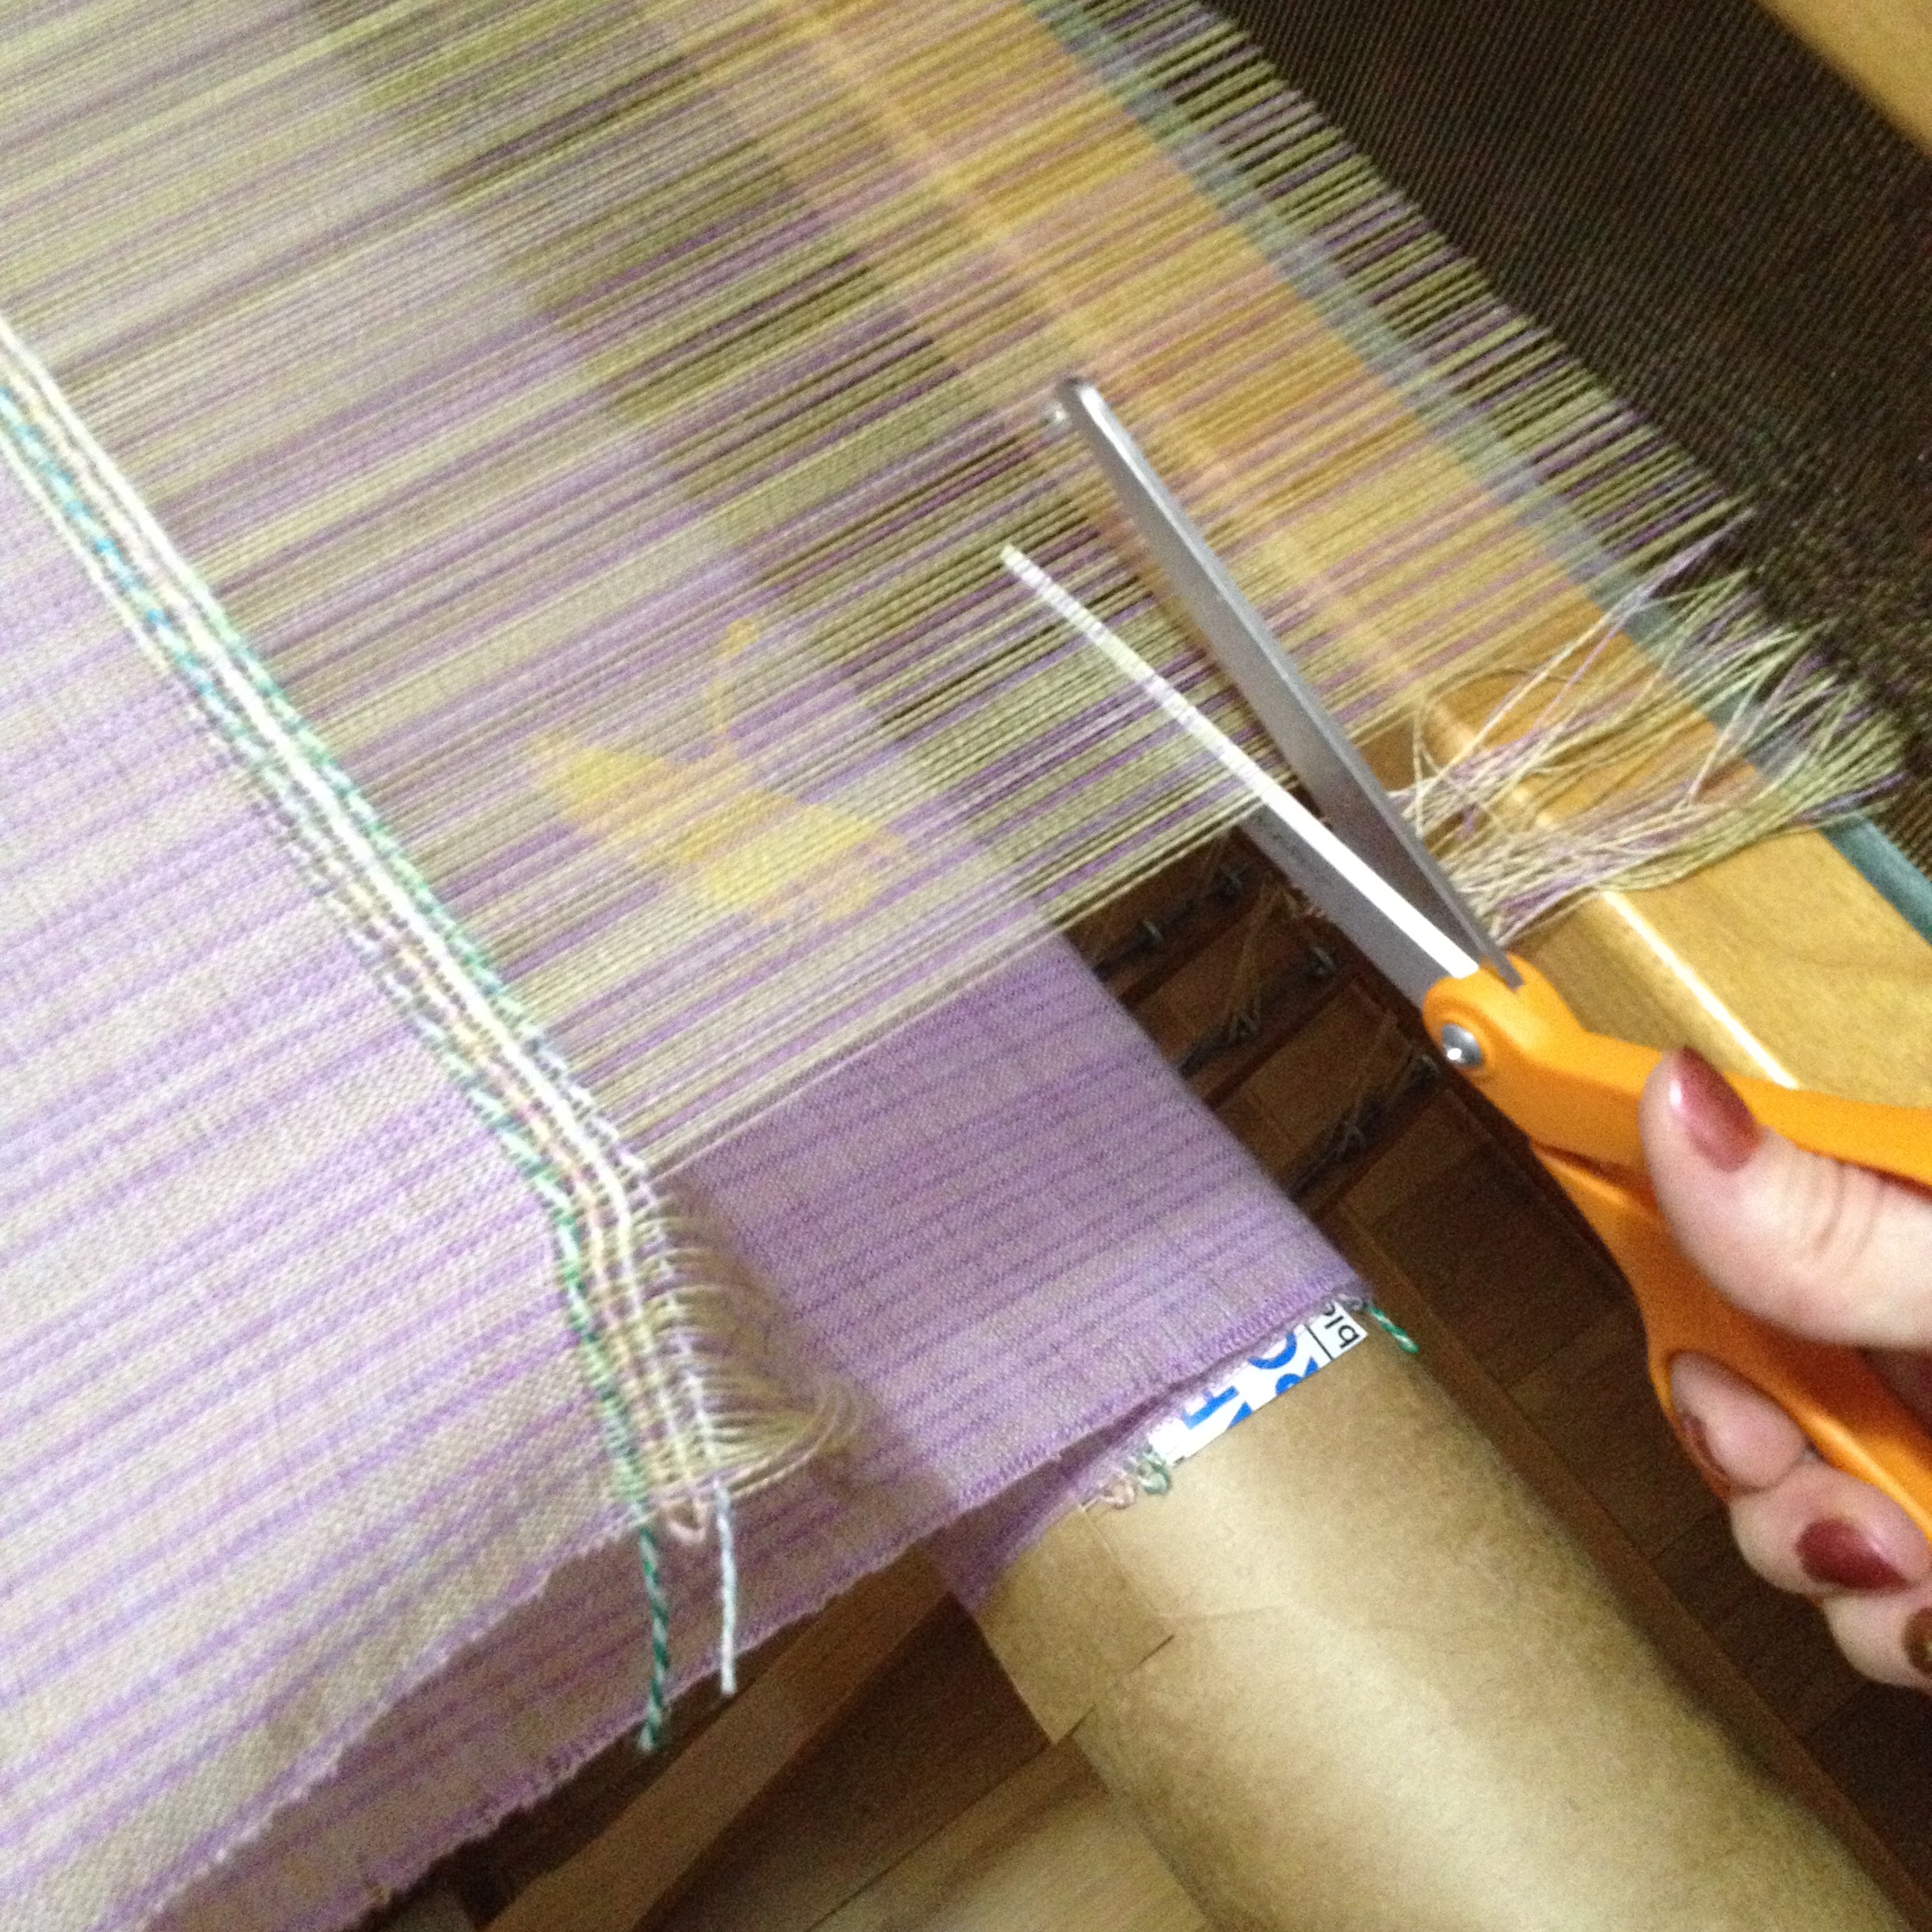
Cut off the loom.

On the floor.
And after wet finish, fringes and ironing.

I’ll be adding them to my shop soon, so stay tuned!

Gorgeous! And a technique that reveals hand-crafted skill!
LikeLike
Thank you!
LikeLike
So beautiful. Thank you for sharing.
LikeLike