My weaving teaches always says that when she makes something, she makes at least two. In the weaving world it totally makes sense: dressing the loom is the same amount of time regardless of whether you have 2 yards of warp or 200 yards. Yes, the time to wind the warp itself is longer with longer warps, and weaving is even longer, but hey, not repeating shaft threading and reed slaying is worth it.

So, when I got a custom order for a scarf from a dear friend, I did not have a shade of doubt that I will weave two. One for the friend, and one for the my shop.
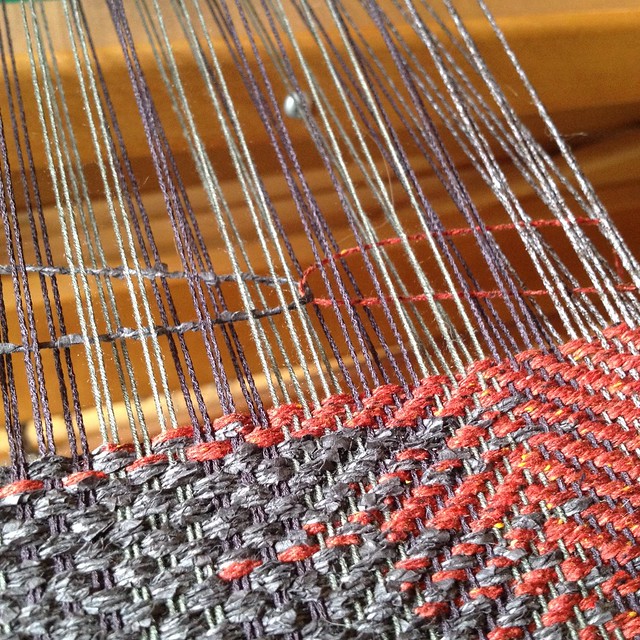
The pattern I decided to weave was a combination of two well-known ones: herringbone and basket weave. I wanted to show the weft yarn, as the linen / GIMA yarn looks funky, and that meant longer floats. And longer floats usually done through overshot, but at that point I just finished the rep weave placemats and wanted something other than two shuttles. Well, I wove the first scarf with one shuttle and started to think what else I can do when weaving the second scarf.
And I decided on saori technique that can result in very unusual looking textiles.
The technique in its simplest form is relatively easy: open shed, throw the shuttle with the main weft, clasp it with the supplementary weft yarn, and then close the shed and beat. Or beat and close the shed – whatever the project is calling for.
In the photo you can see that I locked the main weft thread with the red silk thread, to create an insertion of red colour.
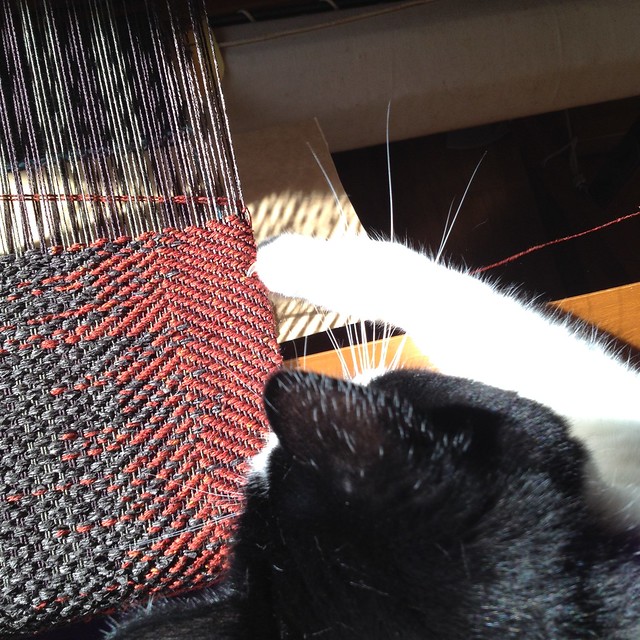
Step by step, pick by pick – and the scarf grows. Even with a helping paw. I tried to go for a random length of the red yarn pull in, as in random flames of the actual fire.
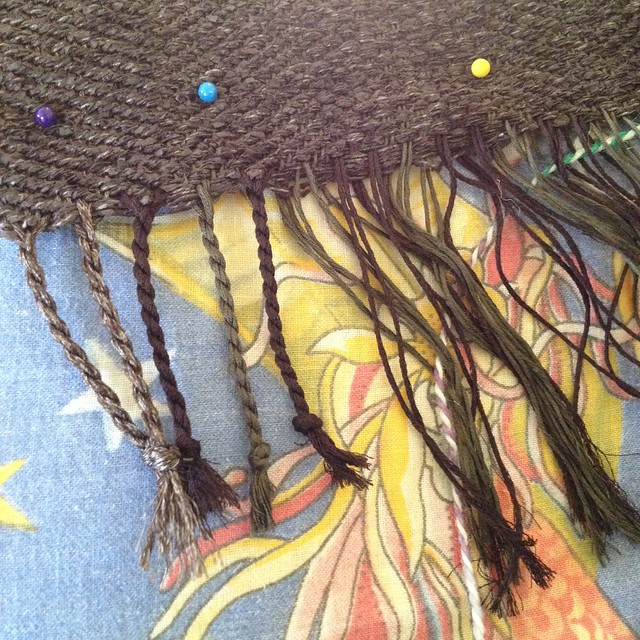
After weaving the next step is to finish the edges. Machine-stitch, knots, knotted fringe – all these choices 🙂
For this scarf, I decided on twisted fringe. My teacher showed this technique for twisting fringes: fix the edge with the pins on a cushion, and it will be very comfy to work on twisting for the next two hours (roughly the time it takes me to do both sides of a scarf). You can clearly see the warp yarn here – chocolaty brown, olive and taupe with white speckles.
After that – wet finish, to let the yarn to bloom or shrink or both. In other words, to settle and become a final product.
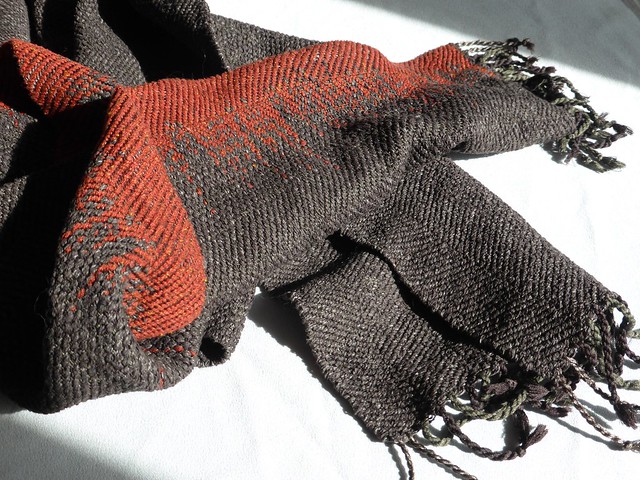
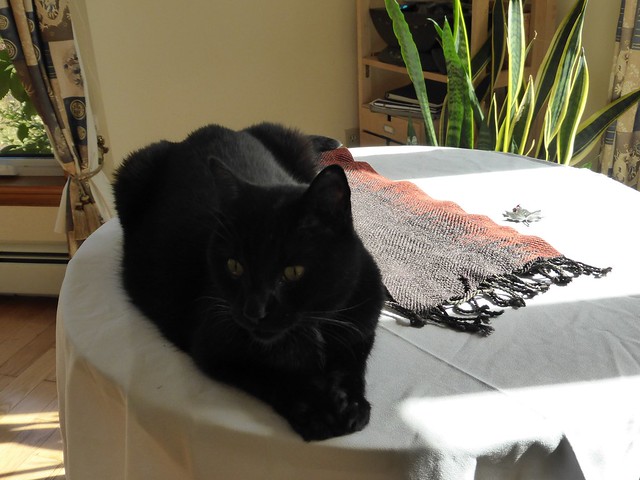
Taking pictures is a totally separate activity (and skill). I wait for a sunny day to get the good light and then spend a fair amount of time dancing around with a tripod, a camera and background fabrics. And if I need to reset white balance – here I have a perfect black spot.
So here it is: a story of making the scarf with the flames. Hope you enjoyed it!
